Digital Solutions for Cadillac Engine Swaps...Diesels...307's
The E/K Display Controller is now available for immediate shipping.
See below for packages, pricing and contact information.

|
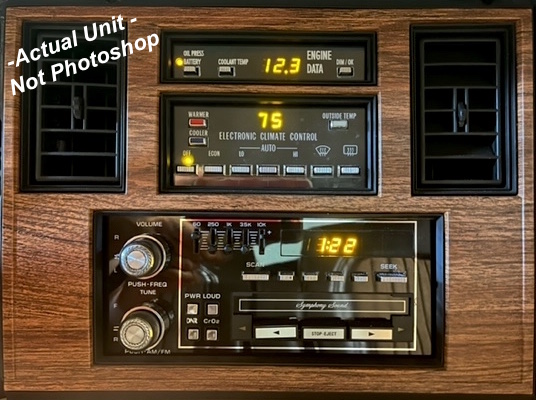
"The E/K Display" Finally, a stock-looking, integrated instrumentation solution for 1982-85 Cadillac owners who have Or replace the filler plate on your diesel or post-'85 RWD model with a 4100 display module.....Plugs right in!
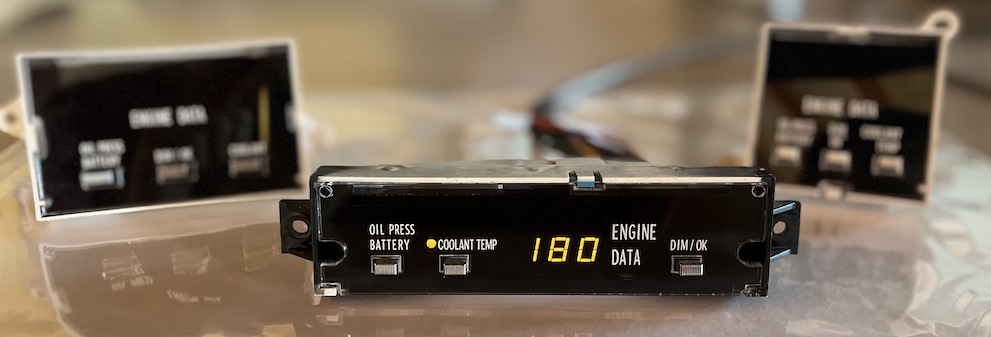
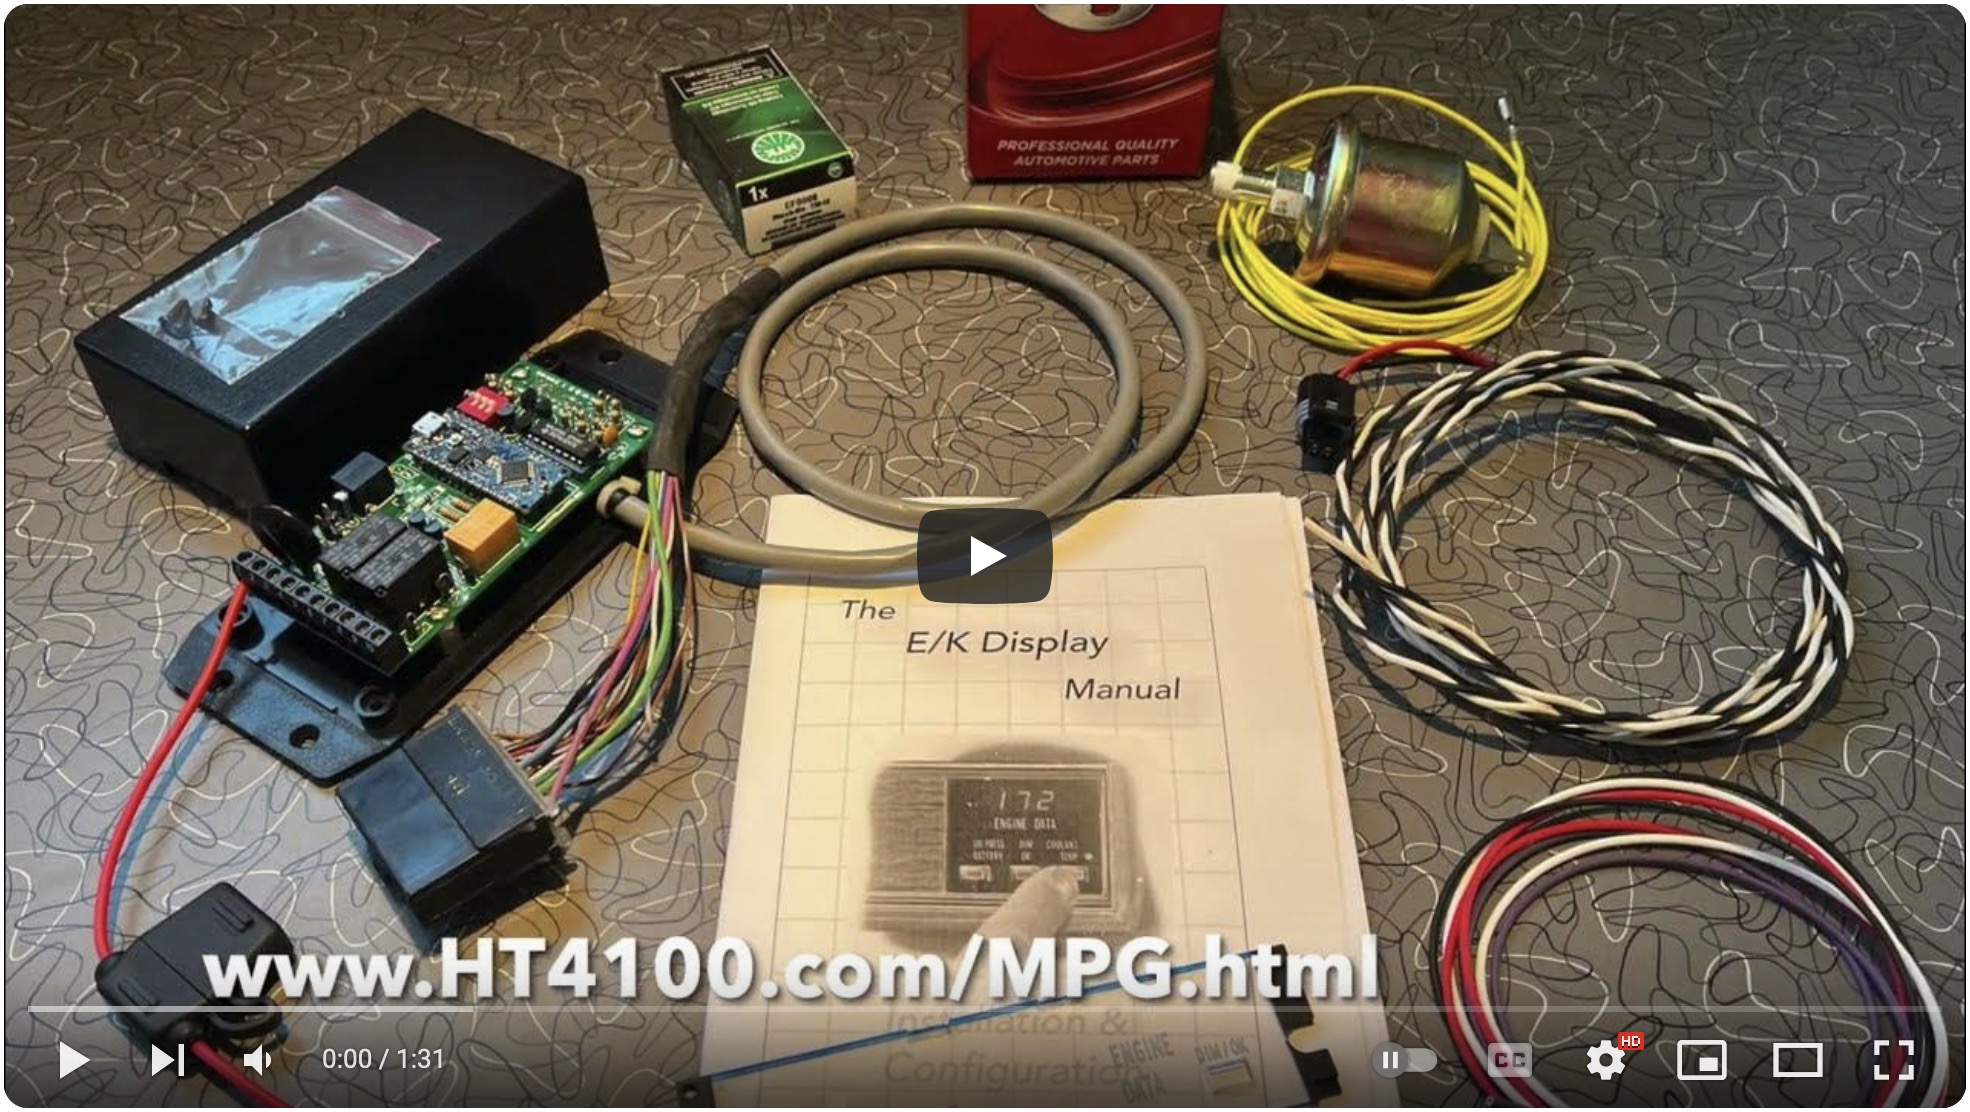
This self-contained computer plugs directly in to your existing Fuel Data display and installs easily under the dash. Screw terminals allow easy connection to power, ground, and sensors...no more difficult to install than an aftermarket gauge set. Coolant Temperature, Oil Pressure and System Voltage (Battery...in Cadillac parlance) are displayed at the touch of a button, and a new laser-etched overlay with factory-style text is included on Economy & Turn-Key packages. Should you want to be warned of loss of oil pressure, or an engine over-temp situation, a single connection to the factory warning chime is all that’s required. It will even drive your Coolant Temp light, since the 4100's ECM previously handled that. For minimal wiring, 3-levels of display brightness are built-in. Or you can connect to your headlight switch & rheostat and the digits will dim variably with your other displays. Brightness has been calibrated to track the factory brightness curve. And just like the other factory displays, the 6's and 9's retain their distinctive "tails". A genuine problem after an engine swap is how to lock up the transmission torque converter.... The processor board also handles that! It prevents TCC engagement until the engine is warm and provides a delay after input conditions are met to prevent short cycling. Plus it works with the normally-closed 4th Gear Switch these cars use. Just add an aftermarket vacuum switch to sense engine load and you're set! A built-in configuration menu lets you customize settings via the control buttons, and all circuitry is protected from jump start, reverse battery connection and other electronics-killing transients. Each unit is hand-assembled, programmed, tested, and includes a 6-month warranty. Circuit boards are commercially-produced, double-sided with solder mask and silk screen.
Display Packages -Three packages are offered to suit skills and budget- Available on a first-come, first-serve basis, Economy & Turn-Key package availability is limited due to display
For Orders & Questions, reach out to me at orders@HT4100.com with your Package Preference. If you'd like to learn more, the user manual is available for download HERE. A Word about the Acrylic Display Inserts My background is in electronics, but I thought it was important that the display have as close to a factory look as possible. The original inserts were molded and hot-stamped, something not available to the little guy. I strive for perfection, but please understand my version is basically hand made on an individual basis and in some cases, may require a little finesse to fit depending on age and production run of your original housing. I use the same type and thickness material as OEM, but the button holes and outline are laser cut, then the text (modified to match the original font) is laser etched from the backside. The parts are turned over and material is laser-removed to create the recessed areas that receive the housing's tabs. A coarse strip is also etched along the top to help disperse the backlight. Next, the front and rear surfaces are polished with Novus to remove laser haze and the text gets a lacquer paint infill and cleanup. Then I mask the faces and apply two coats of paint to the top edge to give the reflected light a slightly blue tint, just like the originals. 1984/85 inserts are then fully masked and two coats of black paint is sprayed on the ends. Once all paint is dry, there's a final round of polishing, then a test fit on an original housing. It's a time-consuming process, which is why the DIY kit does not include the insert at this time. |


